Step 1: Production & Clean Up
Great metadata can't save a bad photo. Always shoot in RAW for maximum flexibility. Before you even think about keywords, check your images at 100% zoom. Remove noise, fix chromatic aberration, and sharpen your subject. Microstock reviewers are ruthless about technical quality. A clean file is the foundation of a high acceptance rate.
Step 2: Metadata (The Money Step)
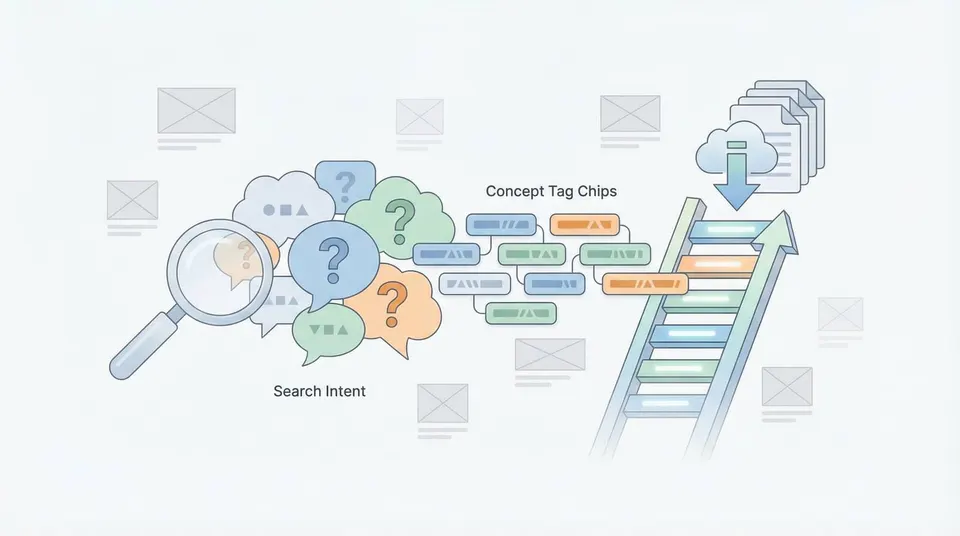
This is where StockTag shines. Don't rely on generic descriptions.
- **Title:** "Happy family running on beach" is better than "Family, Beach, Run".
- **Keywords:** Mix literal (what you see) and conceptual (what it means).
- **Order:** Put your most important 10 keywords first for Adobe Stock optimization.
Step 3: Export Settings
Consistency is key. Export your files as **JPEGs** with an **sRGB** color profile. Most agencies require a minimum of 4 Megapixels, but 12MP+ is safer for future-proofing. Always embedded your metadata (IPTC) during export so your titles and keywords travel with the file.
Step 4: Upload Strategy
Don't upload manually to 10 different sites. Use FTP tools like FileZilla or multi-upload services to push your files to Shutterstock, Adobe Stock, and others simultaneously. Because your metadata is already embedded (thanks to Step 3), you won't need to re-tag them on each platform.
Optimize with StockTag
StockTag fits perfectly into Step 2. Use our batch processor to tag hundreds of images in minutes, ensuring your metadata is embedded and ready for the multi-agency upload.