Before You Start: What You Need
Before diving into Stocktag.ai’s powerful keyword tagging workflow, it’s important to understand the setup requirements. First, decide whether to use the guest trial or create a signed-in account. The guest trial allows a one-time live metadata run per stock site per IP daily and runs entirely locally in your browser, ensuring your files aren’t uploaded or stored unless you sign in for a full session.
Next, prepare your test files carefully. Stocktag.ai supports JPG, PNG, WEBP, or SVG formats with a maximum file size of 4MB. Having a properly formatted test image ensures the tool can process your metadata efficiently and accurately during initial trials.

Step 1: Run a Live Metadata Test for Fast Validation
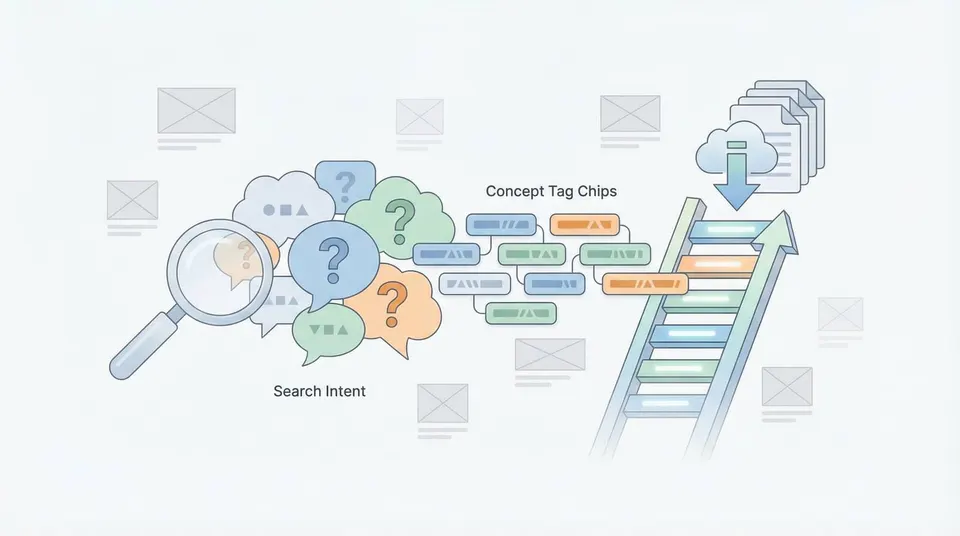
Start with a single image to validate Stocktag.ai’s metadata generation. Use the “Try a Live Metadata Run” feature, select your target stock platform, and upload your image. Once the Studio opens, immediately check if the top keywords are buyer-focused, if any irrelevant tags appear, and if the generated title is factual and appropriate for submission.
This quick 60-second test helps confirm if Stocktag’s AI, tuned specifically for stock photo metadata with hybrid vision and language models, aligns with your portfolio’s style and requirements.

Step 2: Turn On the Right Platform Preset
Stocktag.ai’s platform presets customize metadata output to match the keyword rules and formatting of different stock marketplaces. These presets affect keyword limits, cleanup rules, ordering, and export columns.
Choose from presets tailored for popular platforms like Adobe Stock, Shutterstock, Getty Images, Canva, and others. This ensures your keywords comply with each marketplace’s specific requirements, preventing issues during submission and improving discoverability.

Step 3: Batch Drop Your Photos for Maximum Throughput
After validating metadata on a single image, switch to batch mode to process multiple files efficiently. Stocktag.ai supports drag-and-drop of folders and can handle hundreds of images in parallel.
For best results, batch your photos by shoot or session to maintain consistent lighting and subject matter, which helps create a coherent keyword backbone. Avoid mixing similar but distinct content to prevent near-duplicate keyword sets, keeping your metadata clean and relevant.

Step 4: Generate Titles, Descriptions, and Keywords in One Pass
Stocktag.ai generates titles, descriptions, and keyword sets simultaneously, streamlining your workflow. Even if your main goal is keyword tagging, reviewing titles and descriptions is crucial as they reinforce keyword relevance and help identify AI hallucinations.
Follow Stocktag’s flow: drop assets, review and refine metadata in the Studio, then export. This integrated approach saves time and ensures your metadata is consistently aligned across all fields.

Step 5: Review and Refine Keywords Before Export
The key to winning downloads lies in thorough metadata refinement. Stocktag.ai allows manual edits, bulk changes, and regenerations within the Studio.
Adopt a practical review routine for each image: verify that the top 10 keywords reflect buyer intent, remove weak or repetitive synonyms, correct any contextual errors, and maintain consistency across your batch. Stocktag’s built-in cleanup tools include duplicate keyword removal and smart filtering, helping you enforce keyword quality and compliance.
Step 6: Enforce Keyword Limits and Ordering for Platform Compliance
Different stock platforms have unique keyword limits and ordering preferences. For example, Adobe Stock highlights the top 10 keywords, while Shutterstock requires 7 to 50 keywords ranked by relevance.
Stocktag.ai’s compliance checks automatically enforce these rules, including maximum keyword counts and prohibited word filtering. Focus on treating your first 10 keywords as a strong, relevant headline, with remaining keywords supporting but not cluttering your metadata.
Step 7: Export in the Format You Need for Easy Upload
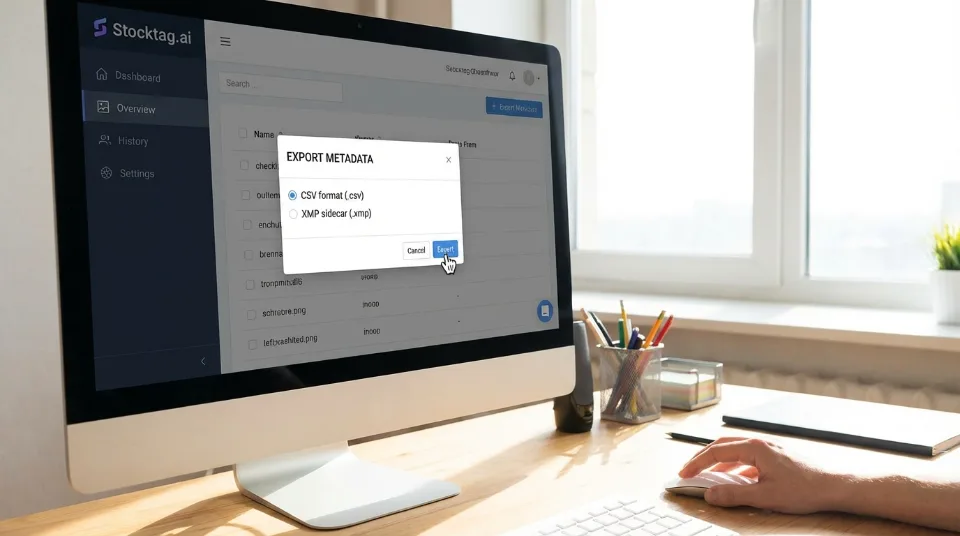
Export options are a core advantage of Stocktag.ai. You can download metadata as CSV files or embed XMP metadata directly into your image files.
CSV exports are ideal for agency-by-agency uploads, while XMP embedding keeps metadata attached to your master files, reducing future rework. Stocktag.ai formats exports to meet marketplace-specific column orders and field length requirements, ensuring smooth submission workflows.
Step 8: Optional — Use Translation and Localization for Global Reach
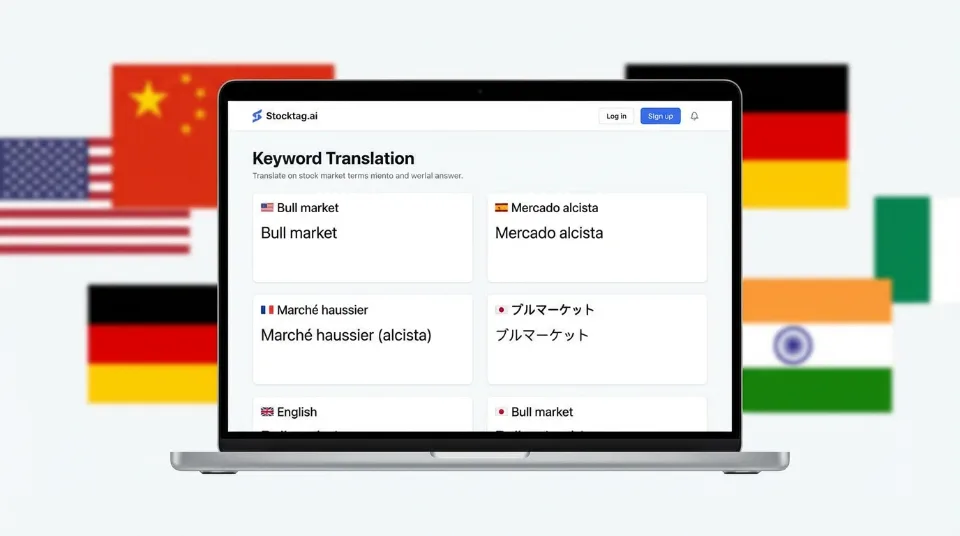
If you target multiple regions, Stocktag.ai offers translation previews and localization-ready keywording with instant translations into 10+ languages.
Use this feature strategically by localizing only when marketplace evidence shows benefit, and ensure translated keywords remain relevant to the audience. Direct translations can sometimes reduce search effectiveness, so review localized metadata carefully.
Step 9: Scaling Notes — Speed, Batch Size, and Cost Model
Stocktag.ai’s performance metrics highlight an average processing time of about 1.3 seconds per image and batch limits up to 5000 files. The platform offers 10 free credits after sign-in and a free BYOK (Bring Your Own Keywords) plan with 100 metadata runs per day.
While these figures are based on Stocktag’s published data rather than independent benchmarks, they provide useful guidance for planning large-scale keyword tagging projects where throughput and export readiness are critical.

A Simple Do-This-Every-Time Checklist
To maximize efficiency and quality using Stocktag.ai, follow this checklist:
* Run a single-image live metadata test first to validate buyer intent.
* Select the correct platform preset before batch processing.
* Review the top 10 keywords manually for every image.
* Remove irrelevant or weak keywords aggressively to improve precision.
* Export metadata as CSV and/or embed XMP depending on your upload pipeline.
Following this workflow ensures your stock photo metadata is optimized for discoverability and submission success.